I’ve not talked about our home renovations on the blog, mainly because by the time we’ve finished I’m done with even thinking about the work we’ve just completed never mind writing about it! But this year I want to document the changes we’ve made to our home so we can take a look back and see how far we’ve come (and not how far we still have to go!)
When we bought our house (Oct ’17) there were jobs that just couldn’t wait. We needed a new kitchen (we were left without an oven and the cupboard were in a desperate state of repair) and also the central heating system and boiler needed replacing. The hot water tank was originally situated on the 2nd floor of the house in a tiny room so we had it taken out and replaced with a system that was re-homed in the cellar. Once the tank was moved out we made plans to change the tiny room into a guest bathroom – eventually! With so many other projects taking priority we decided to give the room a quick lick of paint and use it as a store.
Fast forward to November this year. Darren’s parents were due to be spending Christmas with us (they live in Spain so tend to visit for a few weeks at a time). The guest bedroom is on the 2nd floor so we thought it would be a great idea to start fitting the little bathroom!
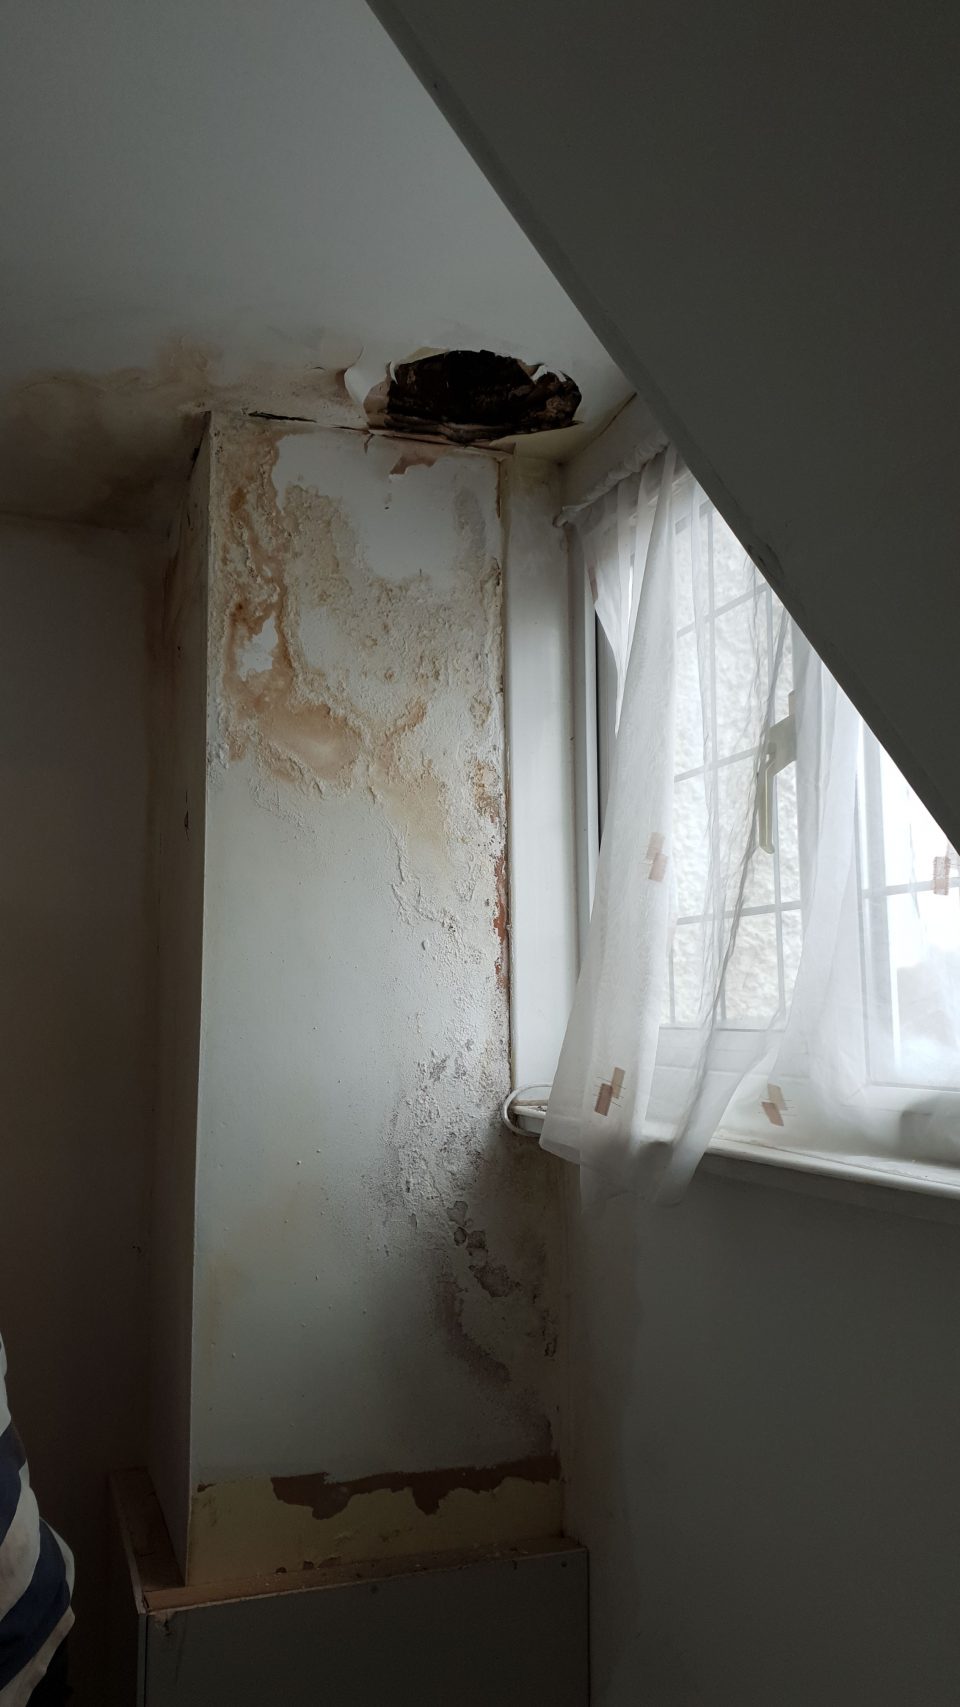
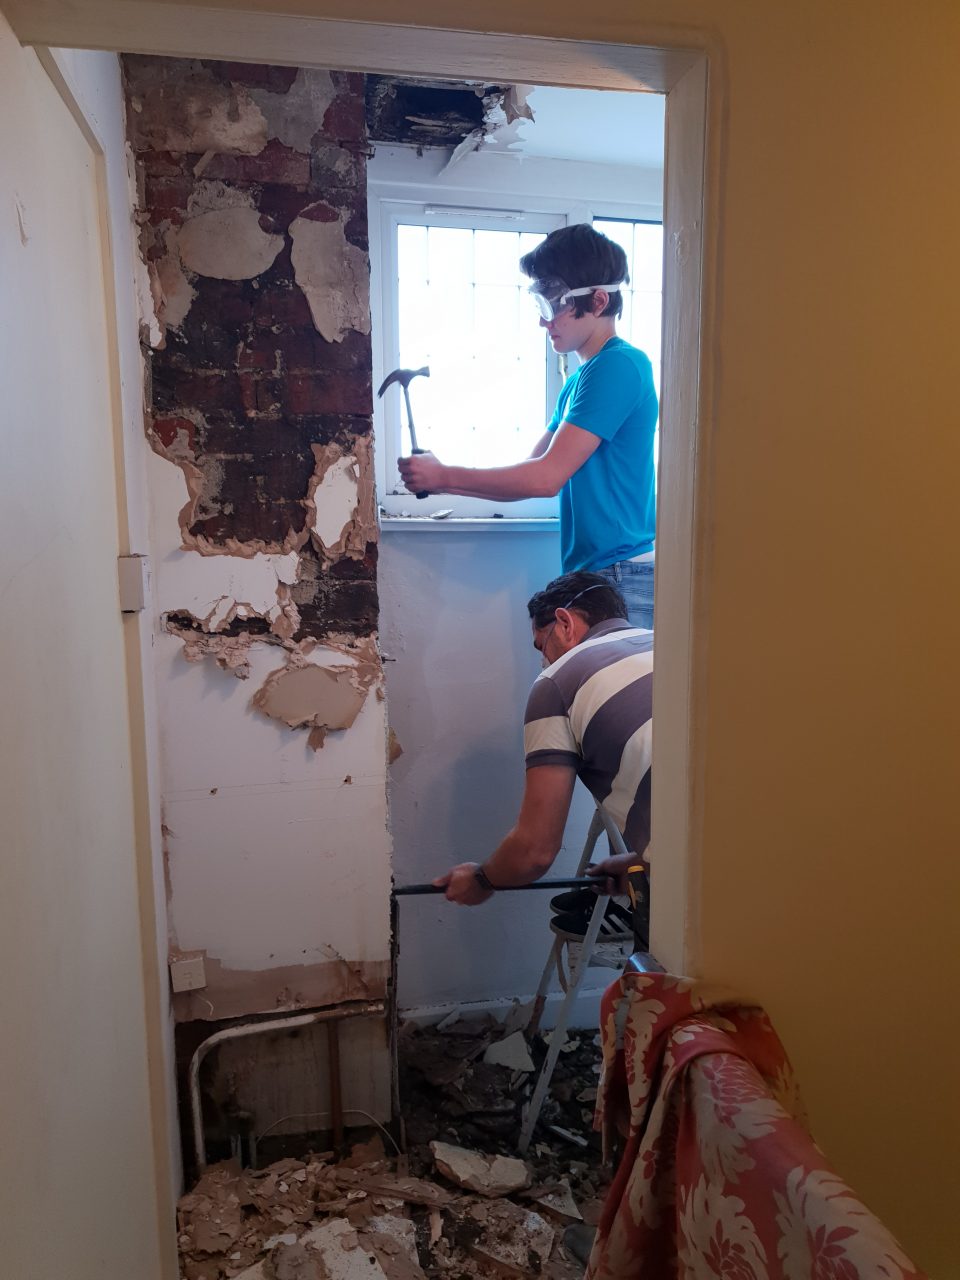
One of the 1st problems we hit was that the roof had had a leak. We had to take down half of the ceiling to see where it was coming from. Thankfully we’d not long since had the flat roof replaced so our roofer popped back and fixed it for us (an old led flashing on the chimney stack had failed)
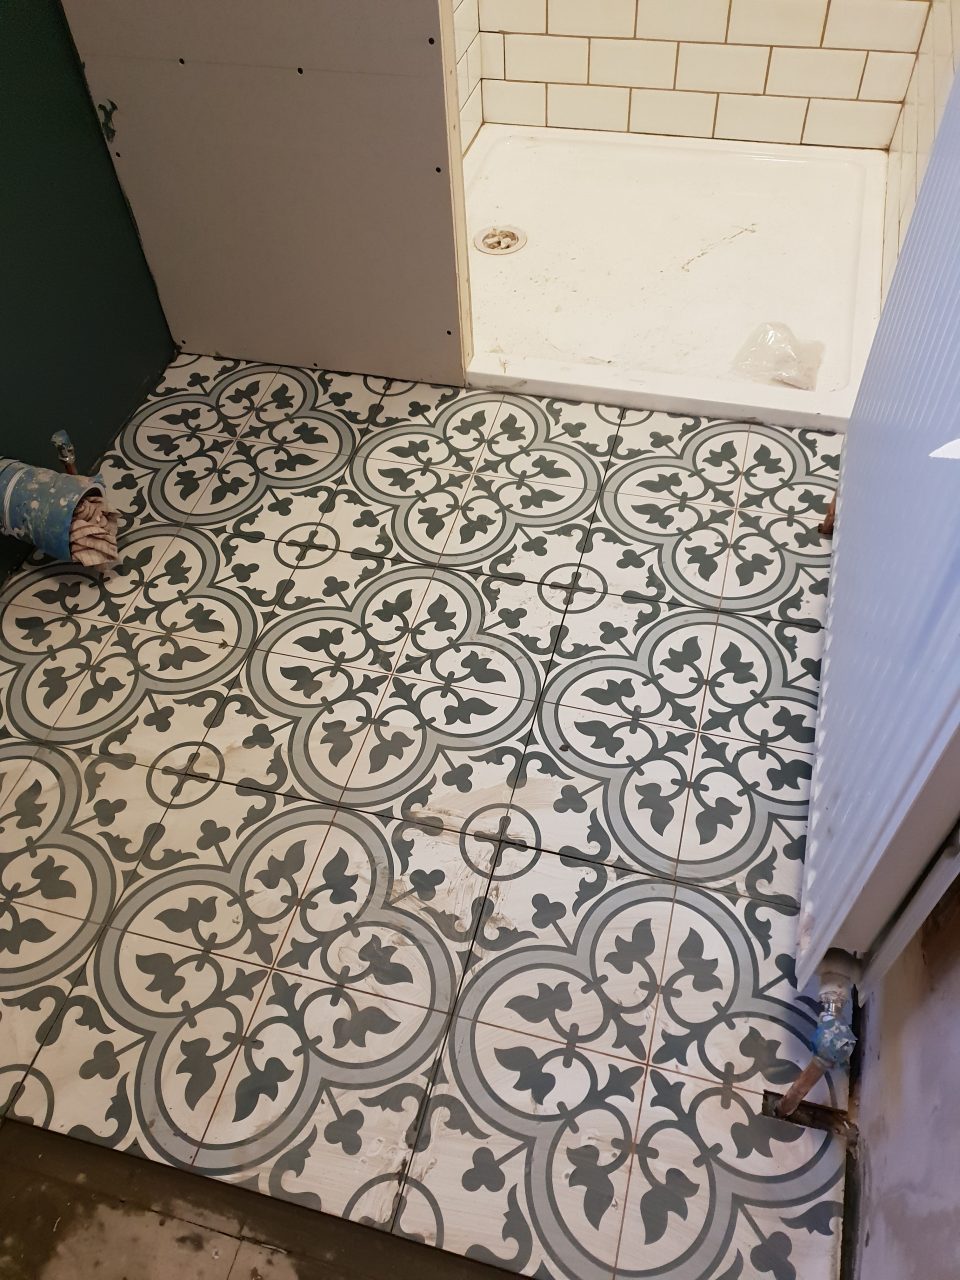
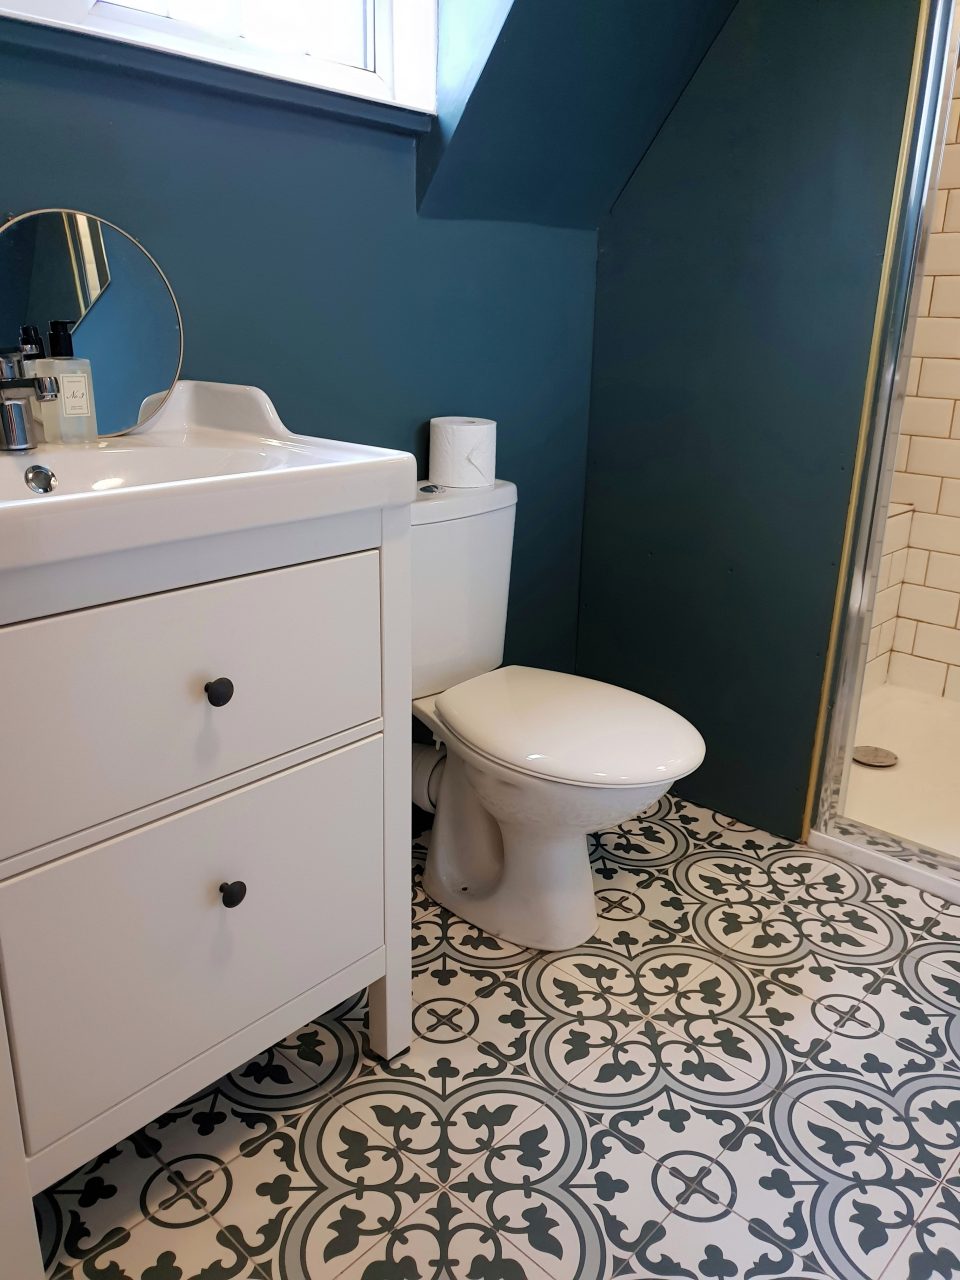
We had a really small budget for the project, around £1500 so we had to be creative with our design. I had an idea of how I wanted the room to look, patterned tiles on the floor, metro tiles in the shower and I want the walls & ceiling painted in Inchyra Blue, its a gorgeous blue green from Farrow and Ball. I’d spent lots of time on pinterest too reserching small bathrooms in eves (ours slopes on the left hand side) and after giving in to Darren to not have a wet room (that was my dream) we started mapping out the space and began ordering supplies!
We were lucky when it came to getting water up there, because there had been a hot water tank in the room, the feed thankfully had been left! So we had no trouble with getting running water to the sink, shower & toilet, the only problem was how to deal the waste from the toilet so we decided the easiest way to do this was to buy a macerator. (without being too gross a macerator “deals” with the number 2’s so they can fit down a tiny pipe which then goes into the main house sewage).
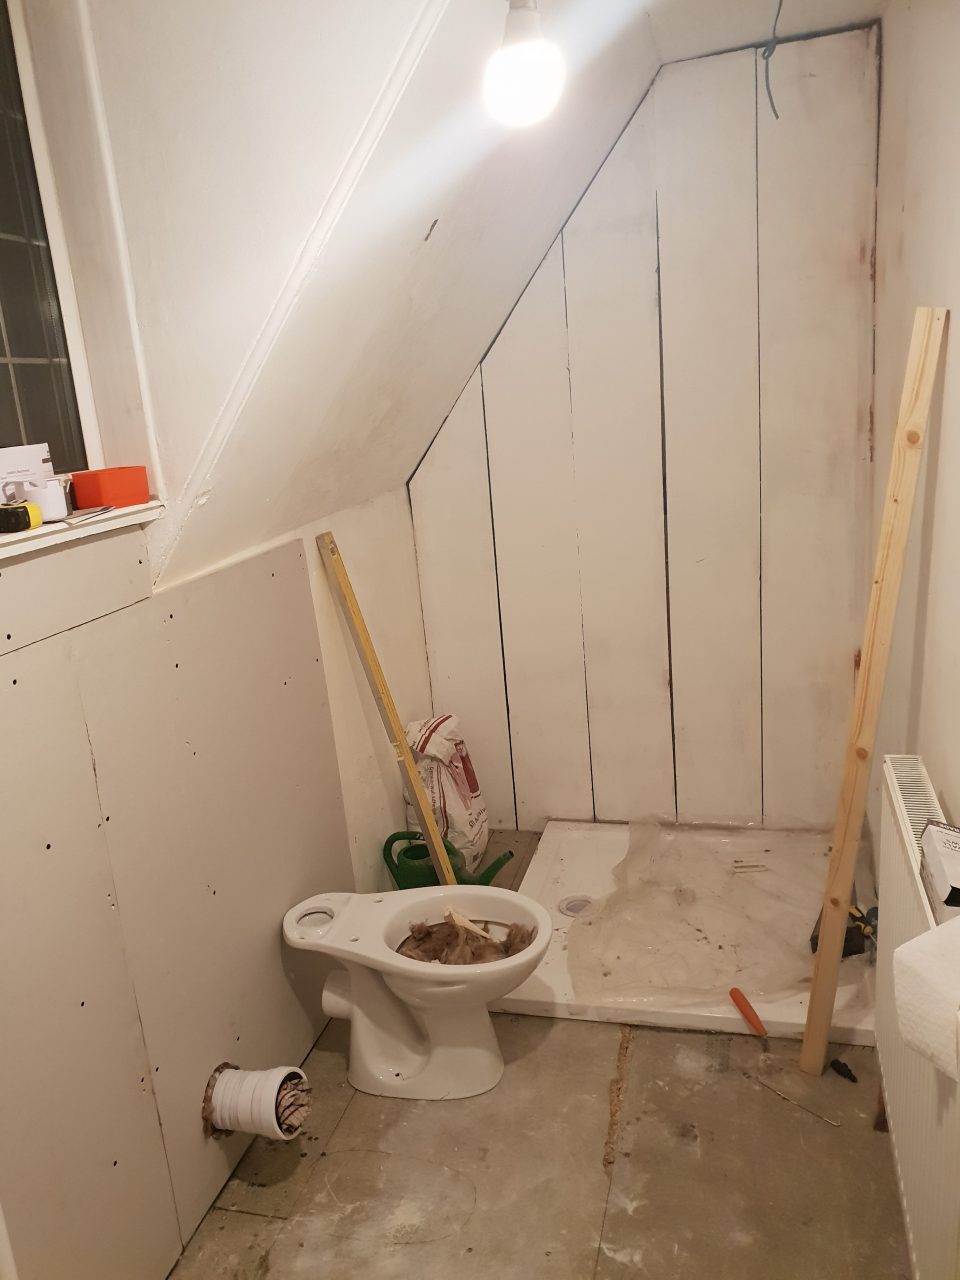
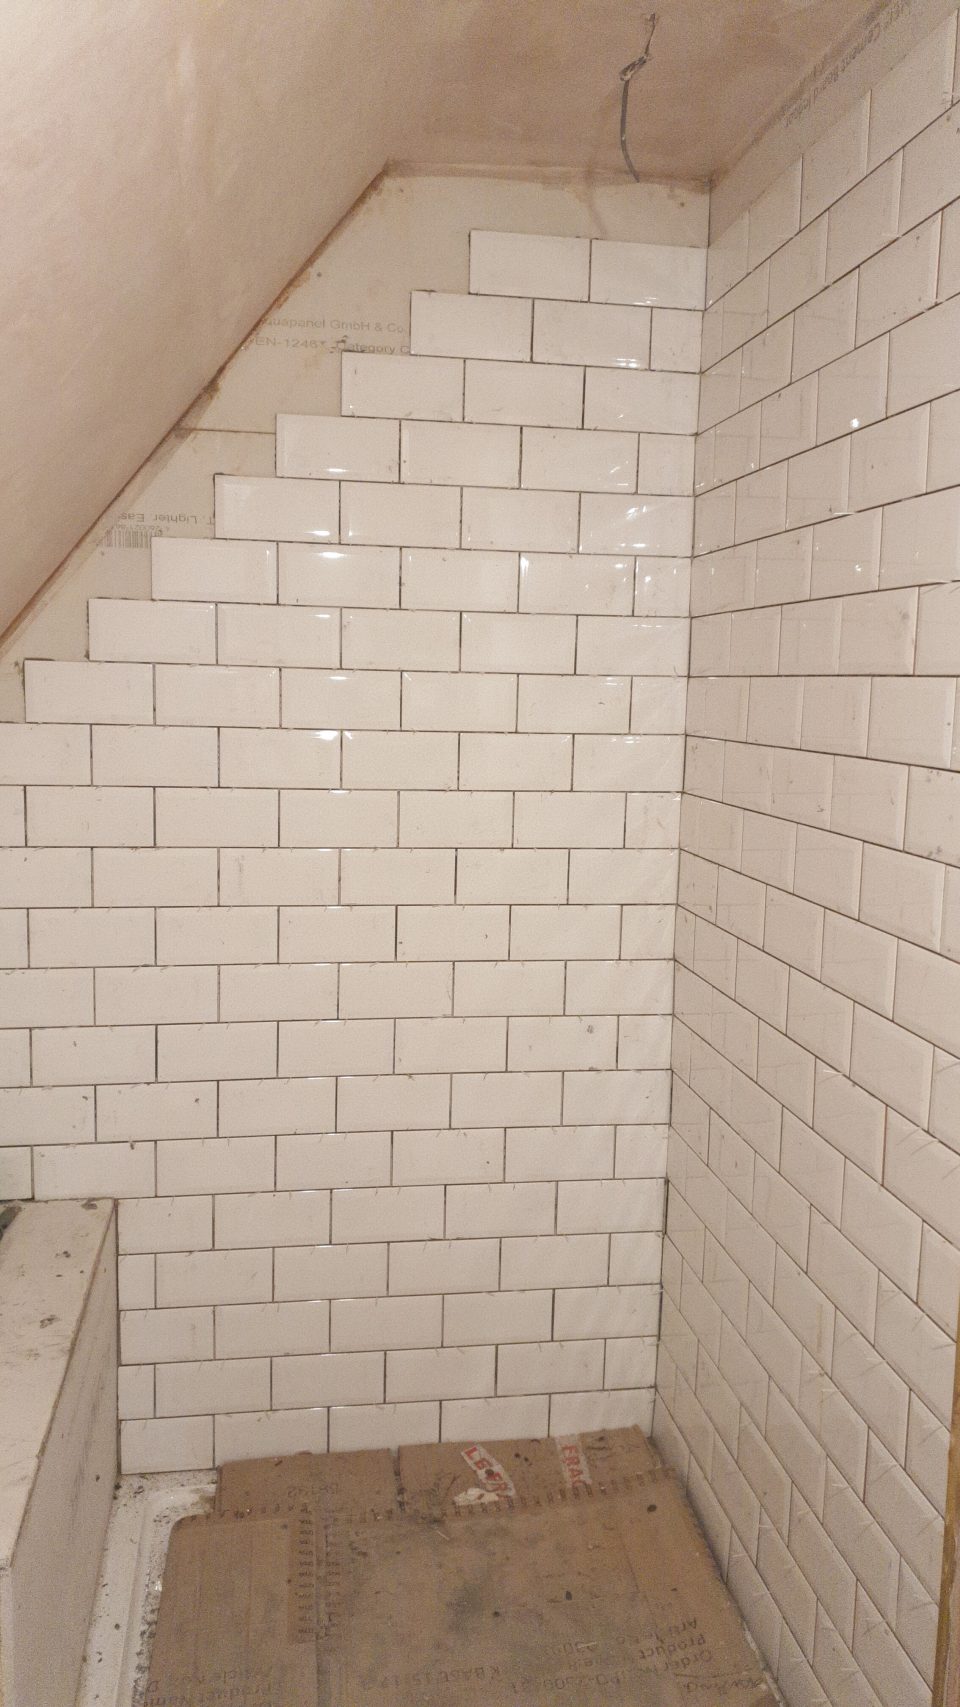
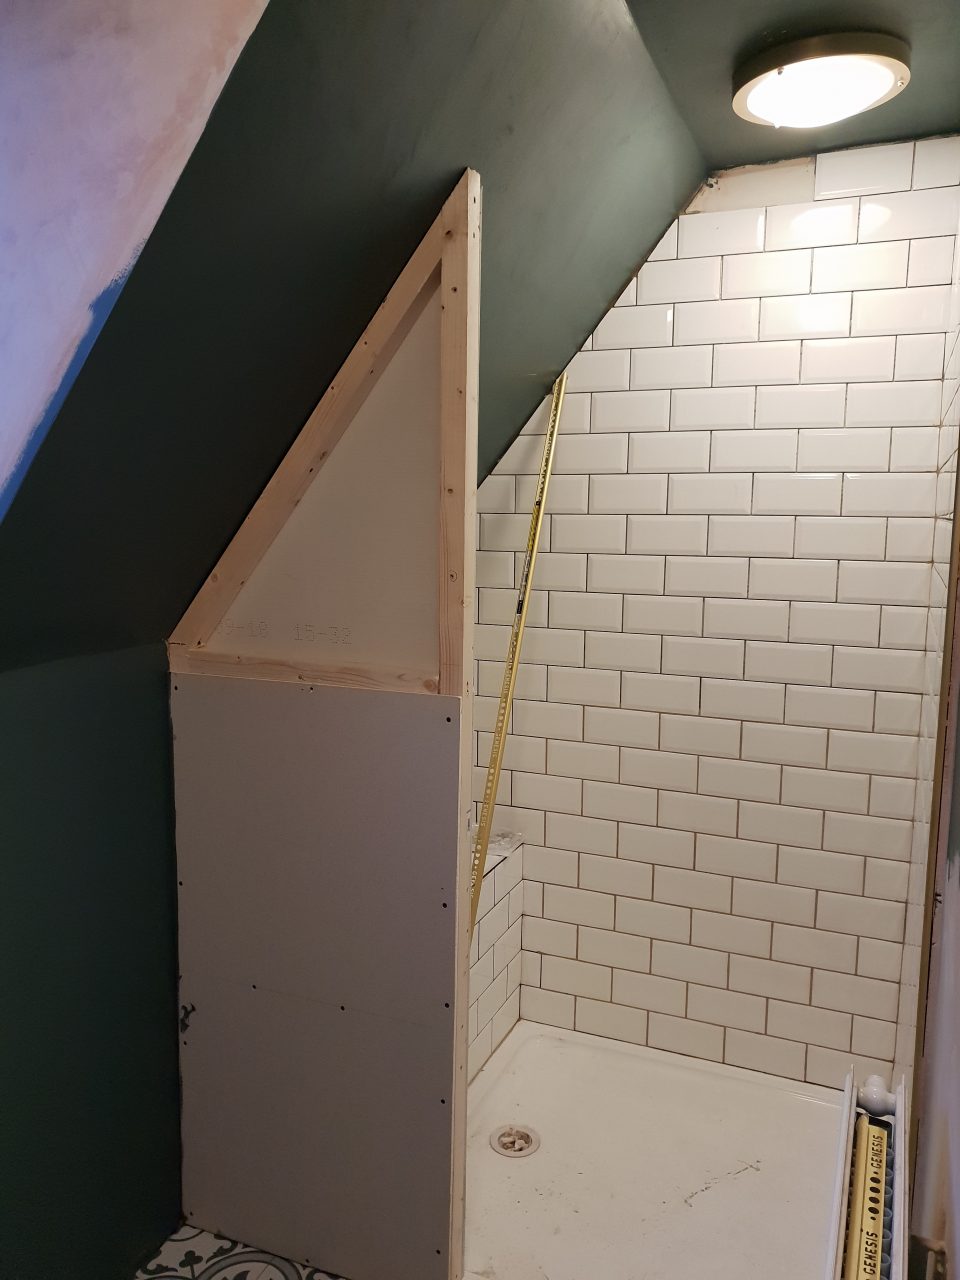
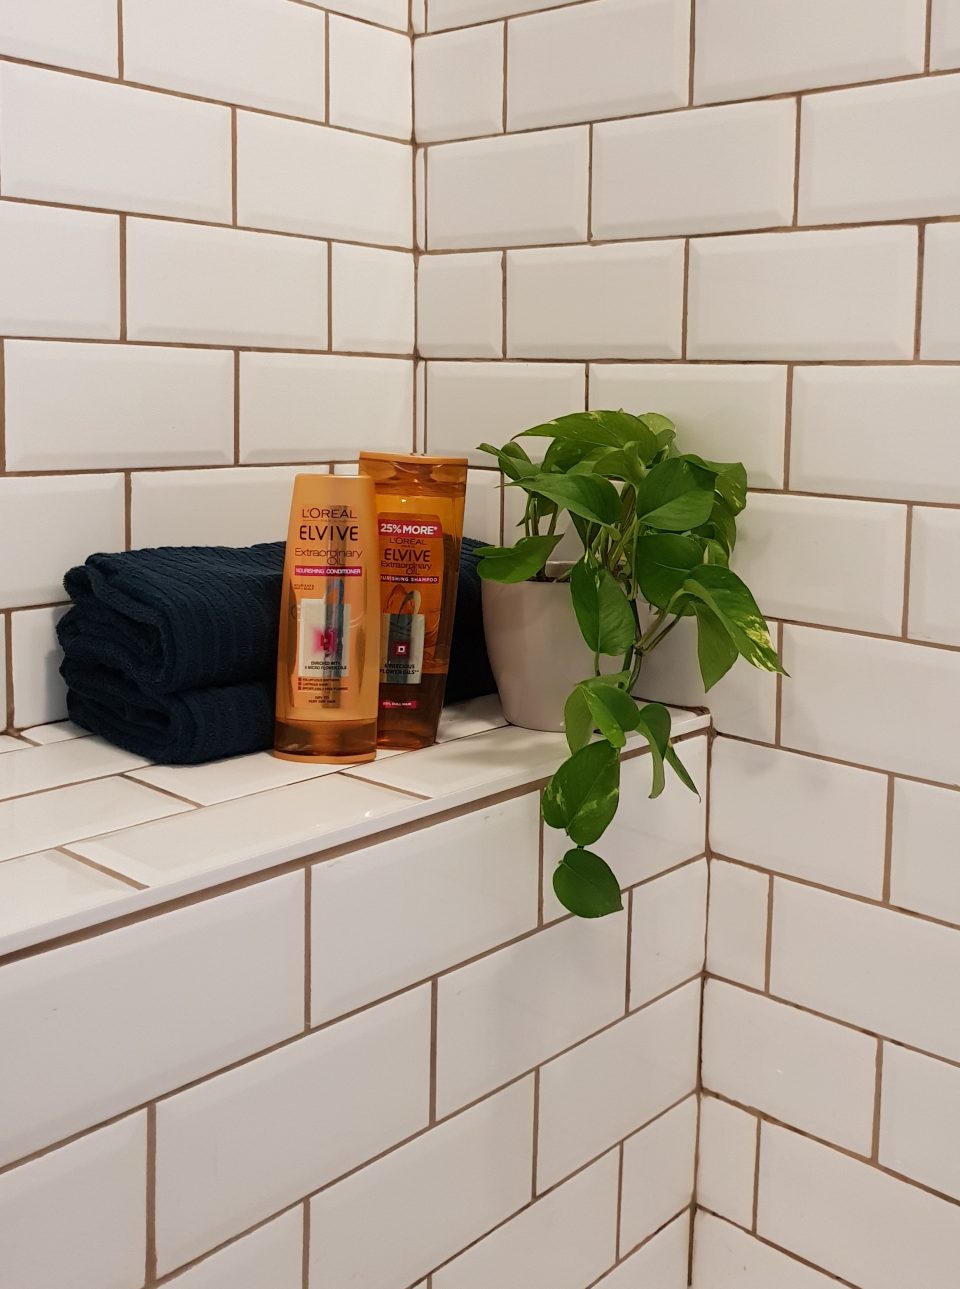
Once Darren and my Dad had sorted out the plumbing we raised the floor. You used to have to step into the room so raising it worked out brilliantly for hiding all of the pipework! Our plasterer came and skimmed the walls & ceiling for us, he also fitted us a door as it only had an archway and then Aqua board was fitted in the shower (I didn’t want the eves tiling so after some research decided this was the best way to deal with the steam and possible water splashes). We then built a seat for inside the shower (Darren said it would make the perfect hangover spot!) and then started tiling the back wall of the shower and the floor. Time really started to slip away from us so I was painting the walls as soon as the plaster had dried!
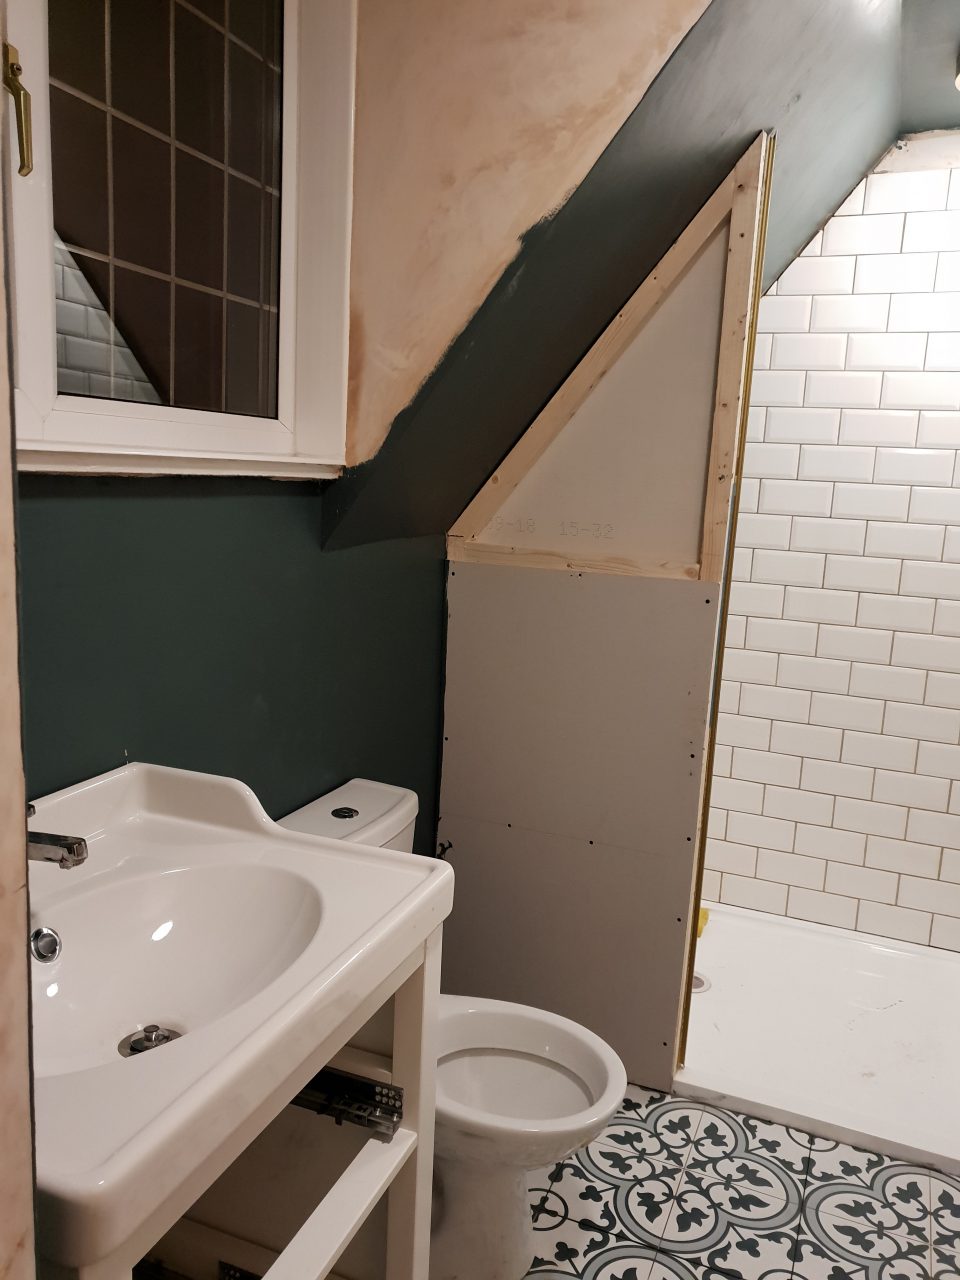
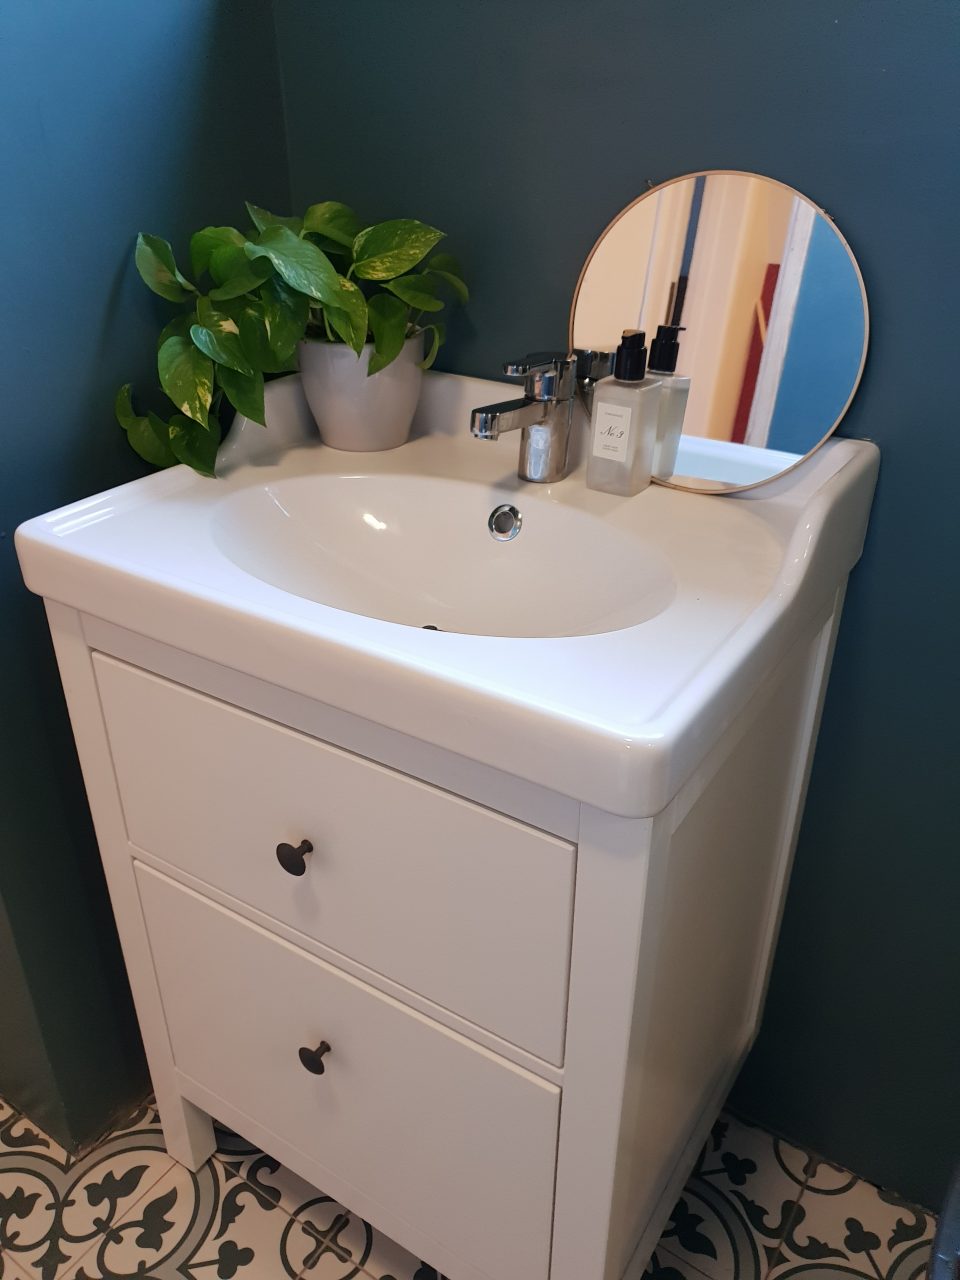
To get to this point had taken 4 weeks (not bad going for a bunch of amateurs!) but we were now approaching the week before Christmas and Darren’s parents were flying in on the 19th! I was given the horrible job of grouting all the tiles (if you saw my instagram stories you’ll know this almost gave me a mini break down!) and Darren & my dad set too fitting the toilet and sink…
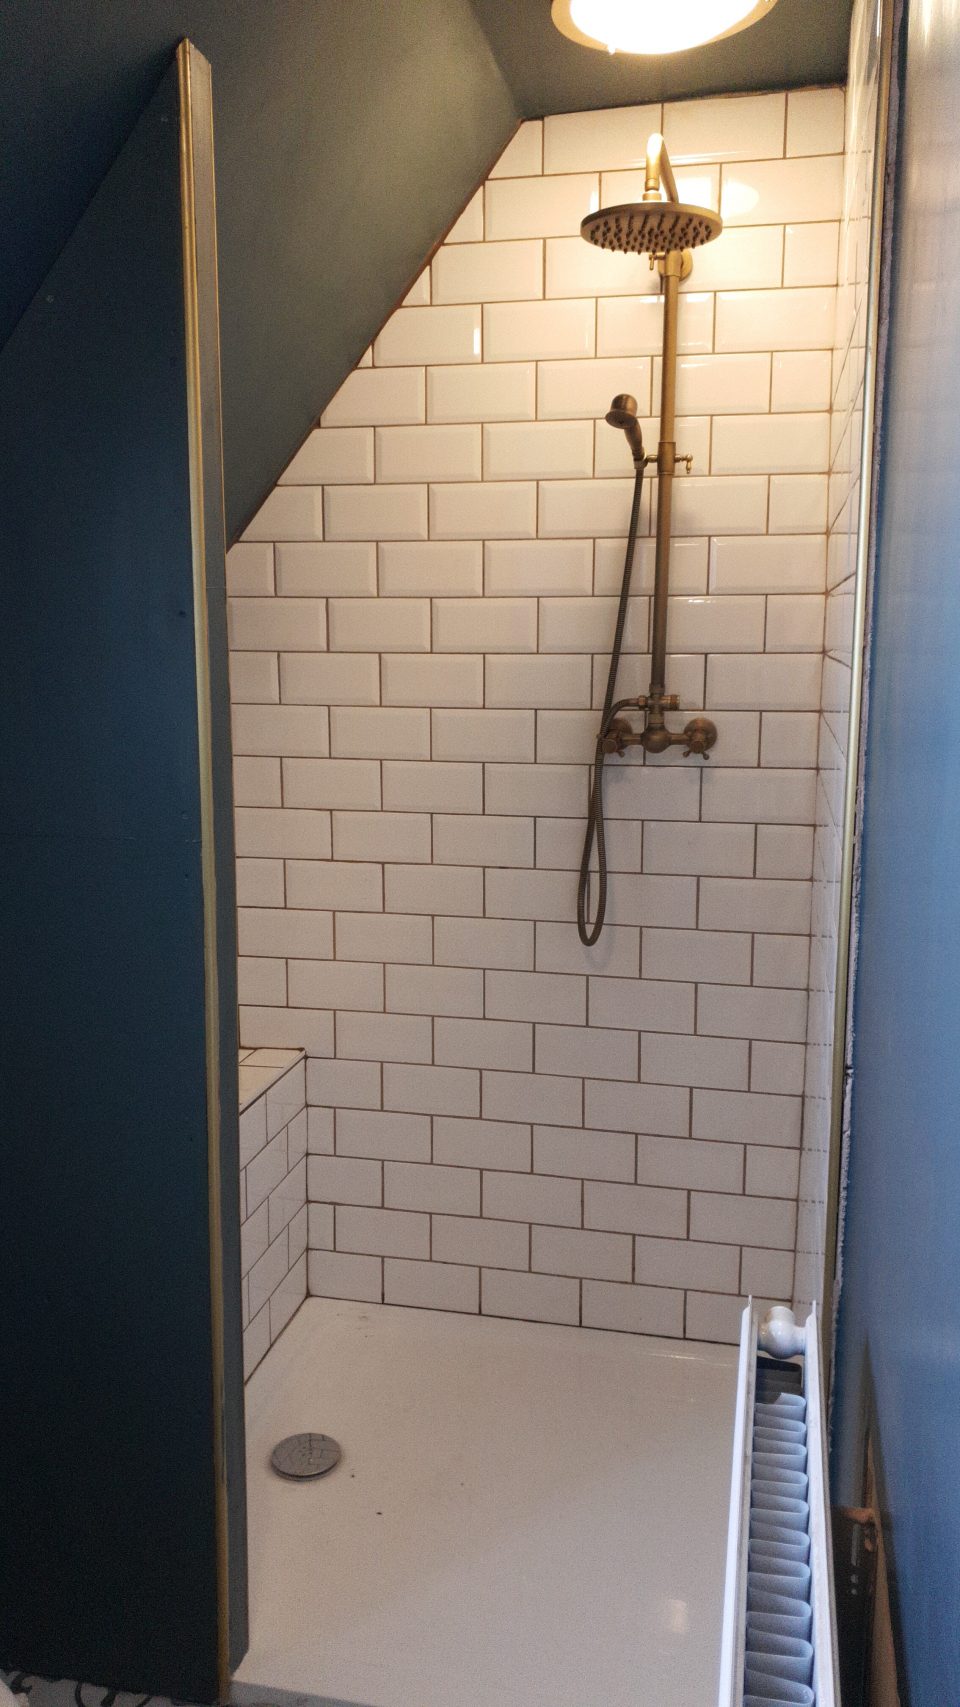
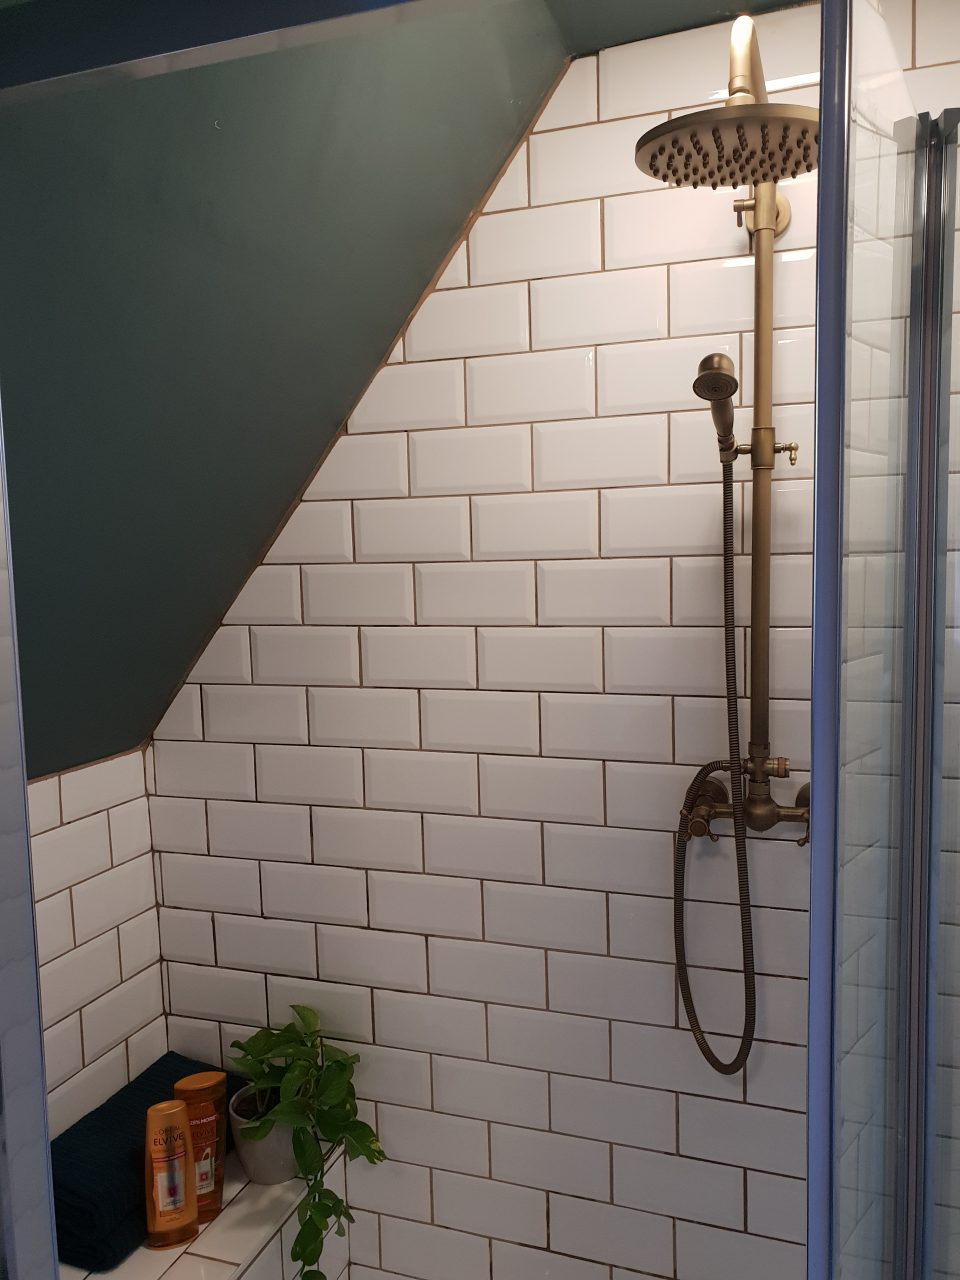
On the 17th my dad popped round and fitted the shower, this was the part I’d been looking forward to the most! I’d chosen an antique brass shower from Amazon after falling in love with one I’d seen on Pinterest (I later found out it was an image from Alex @thefrugality) and it did not disappoint! To complement it we’d chosen brass tile trims, I absolutely love how it turned out…
We were hitting the final hurdle! All that we needed to do now was fit the shower screen and give it a bloody good clean!
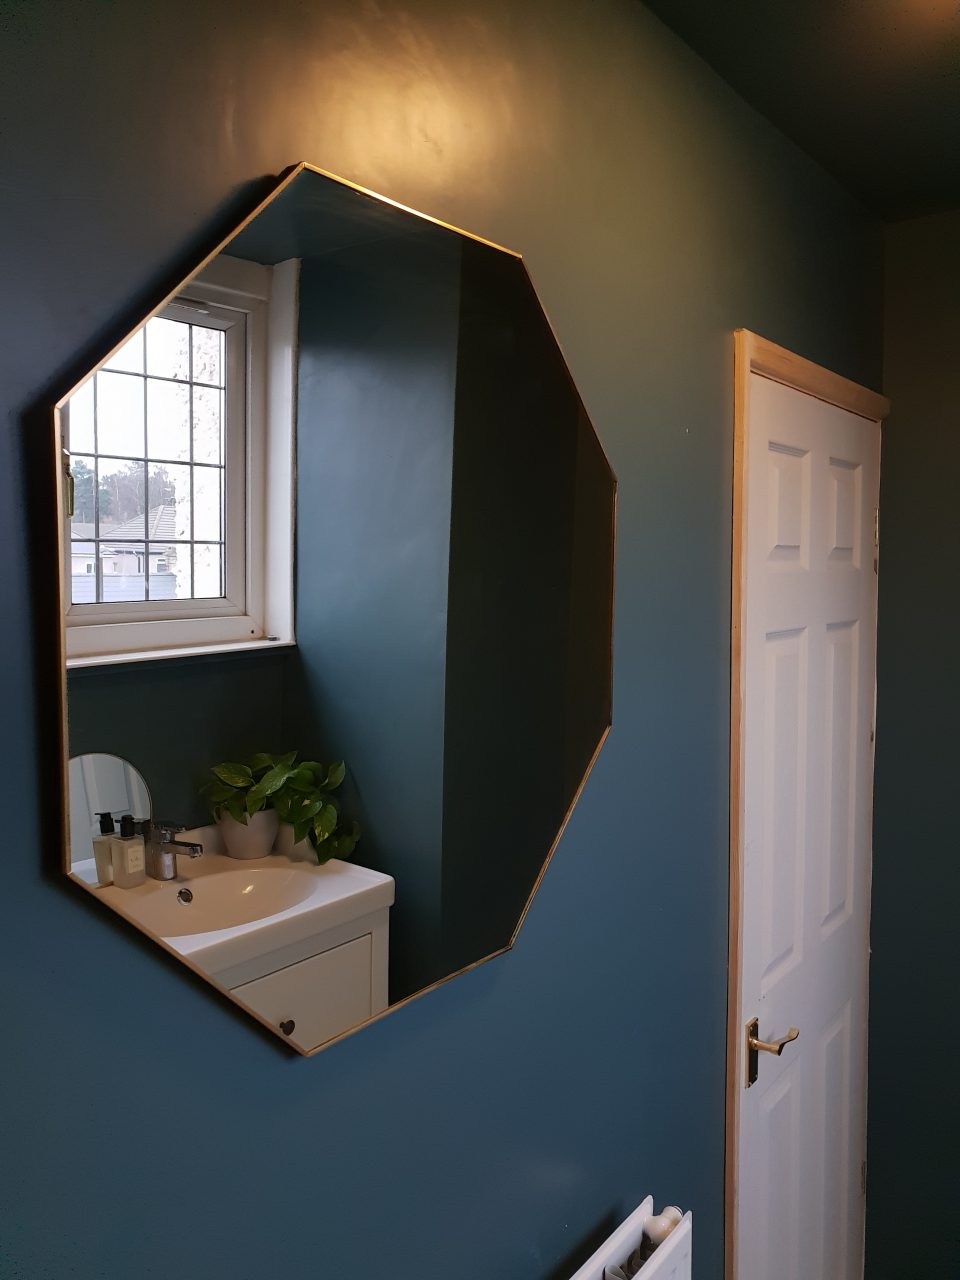
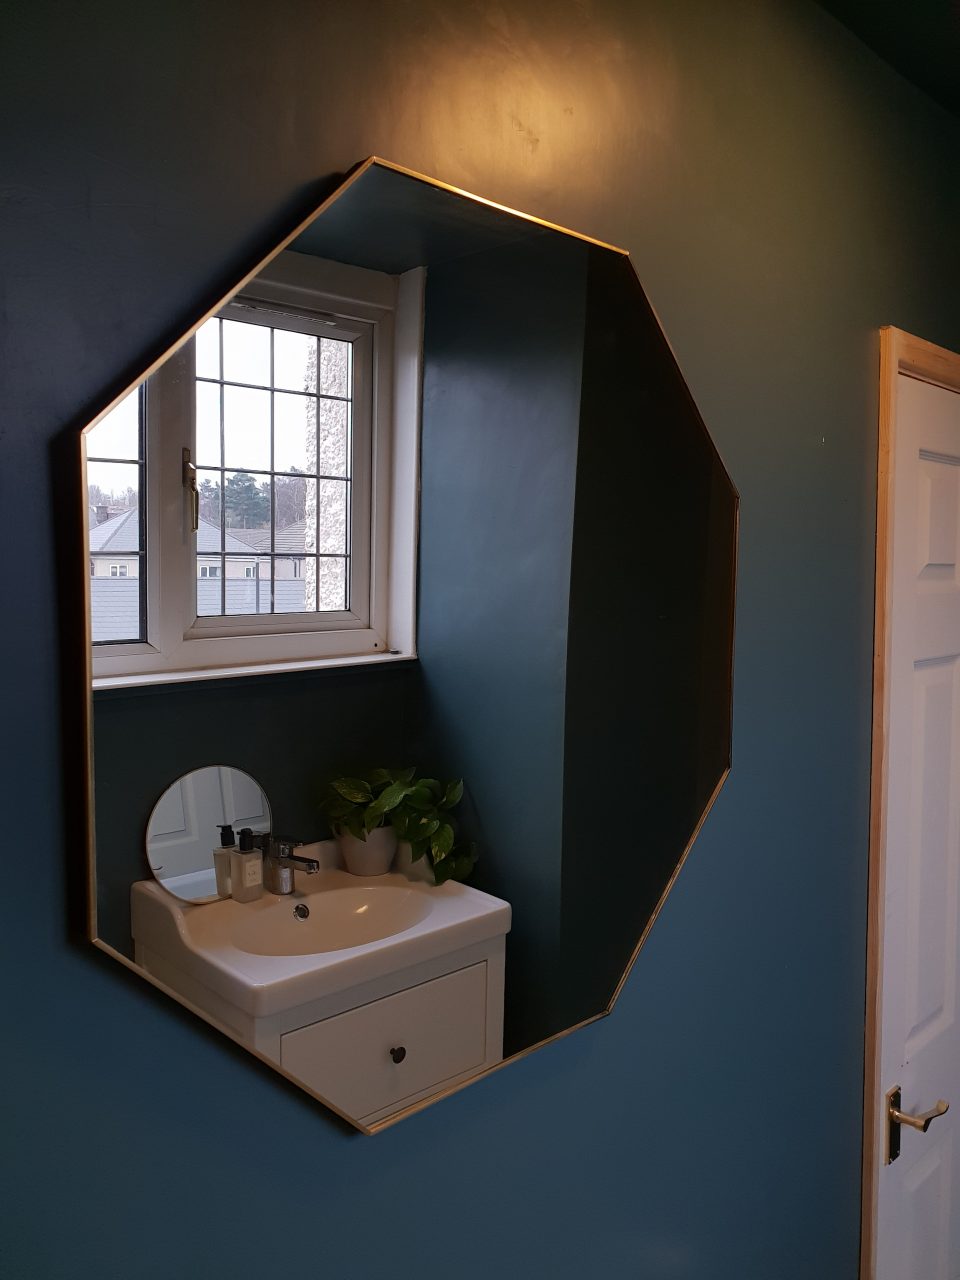
I knew I wanted to have a huge mirror to help brighten the room and this hexagonal one with the brass trim from Very does the job perfectly
Ok now the small print…. The room isn’t quite finished, we need to paint the door & door frame, fit skirting board and filler the stud wall but there is one bit I’m really not happy with… the shower screen. Because time wasn’t on our side we had to choose one with a chrome surround and for me it sticks out like a sore thumb! I’m really tempted to spray it with Rustoleum or paint it with Plastikote (or make Darren order another one!) Darren keeps telling me its a guest bathroom, does it really matter that much?! Well it does to me! So watch this space, we’ll see who wins!
I don’t have any New Years resolutions, I’m not very good at keeping them but I am going to do a better job at documenting the changes in our home, I’m really proud of the work we’ve done and the skills we’ve learned together over the past 15 months!
Tracey
*This post is written in collaboration with Very. All photographs and words are my own